Repair guides
Pick a type, an appliance or a brand. Every guide lists the tools, the safety call-outs, the steps and the reading you should expect.
Diagnostic · 374
Symptom → most likely cause, step by step
Component tests · 69
How to test a specific part, with expected readings
Installation · 33
Install, replace and hook up appliances correctly
Fundamentals · 24
Core skills every appliance tech uses
Appliance
Brand-specific guides
33 guides
Refrigerators · 3
 Install · Refrigerator
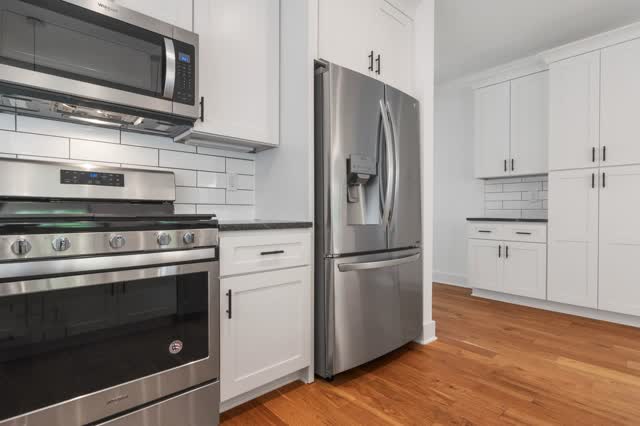
Refrigerator leveling and door alignment
Most refrigerators should be level side to side and tilted slightly back so the doors swing closed. French doors have a separate height adjustment for door alignment. Level after any door reversal, panel install or water connection.
 Install · Refrigerator
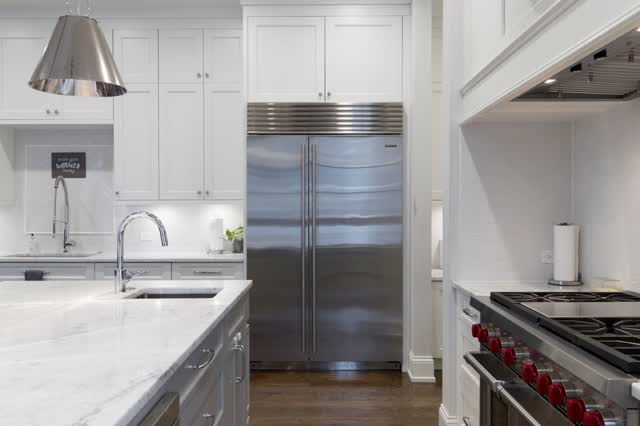
Refrigerator water line and ice maker hookup
Run a 1/4 in supply (copper or a PEX kit made for refrigerators) from an accessible shutoff to the fridge inlet, leave a service loop so the fridge can be pulled out, flush the line before connecting and flush the new filter afterward. Avoid self-piercing saddle valves where code or the manufacturer discourages them.
 Install · Refrigerator
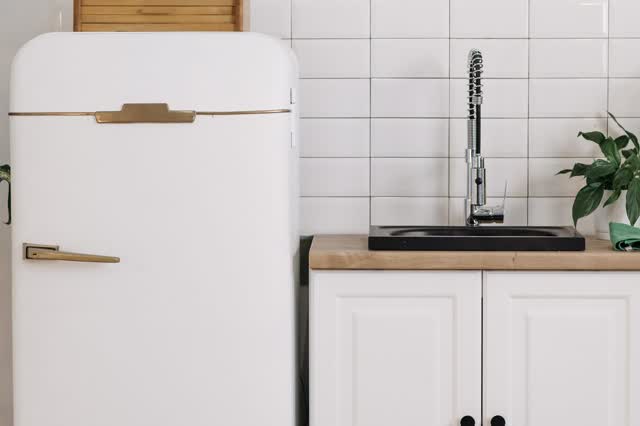
Reversing refrigerator doors (general method)
Many top-freezer and compact refrigerators allow door reversal by moving hinges, the door stop and handles to the other side. Some models (including some stainless models) are not reversible, and French-door or side-by-side models generally are not. Check the instructions first.
Washers · 3
 Install · Washer
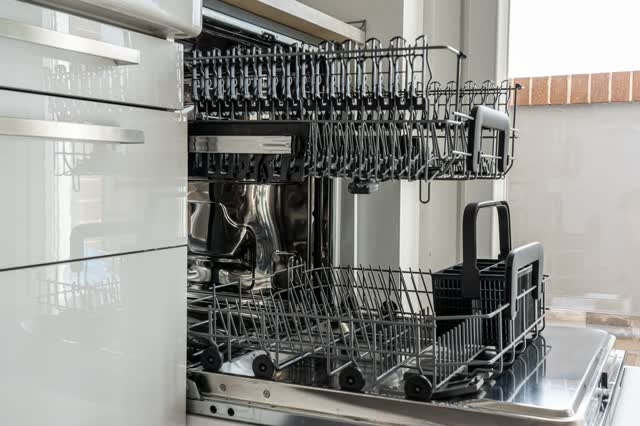
Post-install checklist for water-connected appliances (leak, level, test cycle)
Most install callbacks are a slow leak, an unlevel unit or a drain that siphons. A short, repeatable checklist before leaving the job catches them.
 Install · Washer
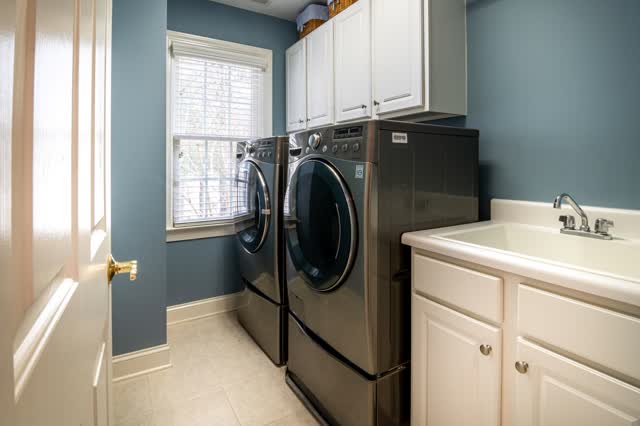
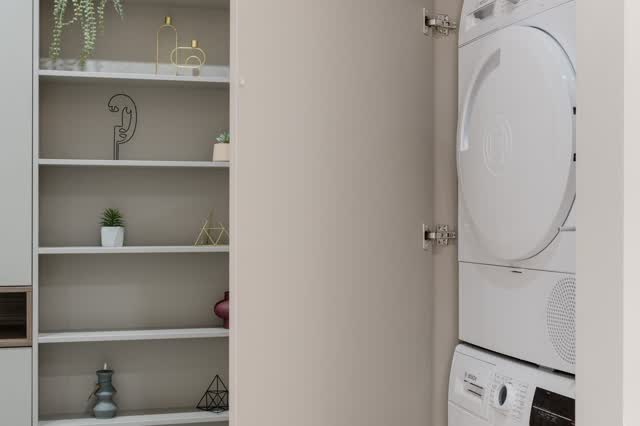
Stacking a washer and dryer with a stacking kit
Only stack front-load pairs the manufacturer lists as stackable, using that brand's kit for those models. The kit brackets attach to the washer top and hold the dryer feet; some kits also need a wall anchor. Lifting the dryer is a two-person job.
Install · WasherWasher install: hoses, shipping bolts, standpipe and leveling
The key steps are removing the shipping hardware, using new fill hoses, setting the drain hose correctly in a standpipe of the right height without sealing it, and leveling. Leftover shipping bolts cause violent shaking on the first spin.
Dryers · 3
 Install · Dryer
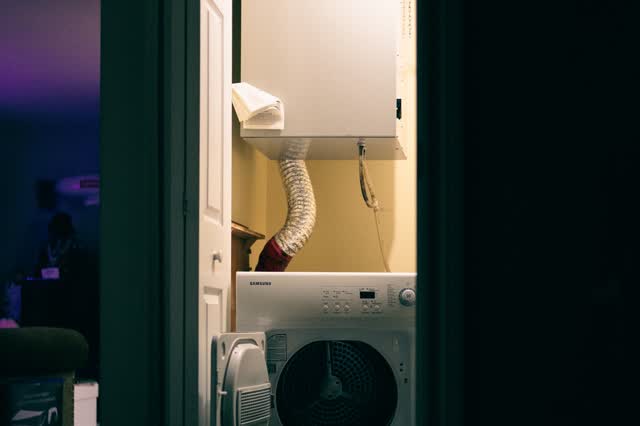
Dryer vent installation: materials, length, elbows and termination
Use 4 in rigid or semi-rigid metal duct with a smooth interior, keep the run within the code or manufacturer limit (the model code limit is 35 ft, reduced for each elbow, unless the dryer maker allows longer), and terminate outside with a backdraft damper and no screen. Never vent into an attic, crawl space or wall cavity.
Install · DryerElectric dryer cord change (3-wire to 4-wire or reverse)
Match the cord to the receptacle. With a 3-wire cord the neutral-to-cabinet ground strap (or green screw link) stays in place. With a 4-wire cord the strap is removed, the green wire goes to the cabinet ground screw and the white to the center neutral terminal only.
 Install · Dryer
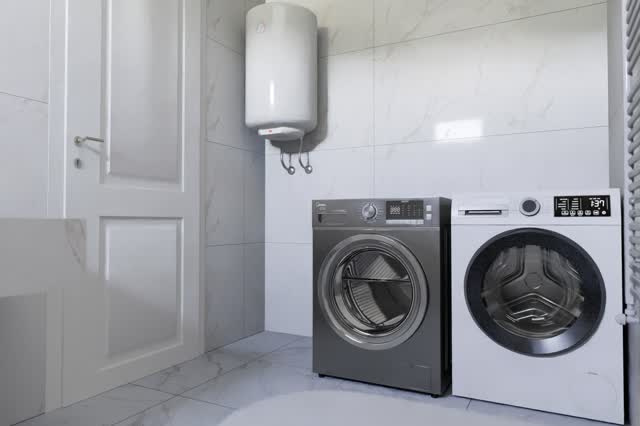
Gas dryer connection (BLOCKED: refer to a licensed gas installer)
Connecting, disconnecting or leak-testing a gas line is licensed gas work in most US jurisdictions. A handyman may prepare the space, the 120 V outlet and the vent, then the gas connection and leak test go to a licensed gas installer or plumber.
Dishwashers · 3
Install · DishwasherDishwasher electrical: hardwired whip vs plug-in cord kit
Dishwashers arrive either set up for a hardwired connection at their own junction box or for a cord kit, and the model instructions say which is allowed. Hardwiring and any change to the circuit are electrical work and may need a licensed electrician and permit. The handyman scope is usually reconnecting an existing, code-compliant circuit the same way it was.
Install · DishwasherDishwasher install: water, drain loop or air gap, power and mounting
A built-in dishwasher needs four things done right: a hot-water supply with its own shutoff, a drain that cannot siphon back (high loop or air gap, as local code requires), the correct electrical connection for that model, and secure mounting to the counter or cabinet sides. Most callbacks come from a kinked drain hose, a skipped high loop, or a unit that was never anchored.
Install · DishwasherDishwasher replacement: swapping an old unit (disposal knockout, reused connections)
A swap is faster than a new install but hides traps: old supply lines and fittings that should be replaced, a disposal inlet that still has its knockout plug if the disposal is also new, and an old drain path with no high loop. Treat every connection as new.
Ranges & Ovens · 4
 Install · Range / Oven
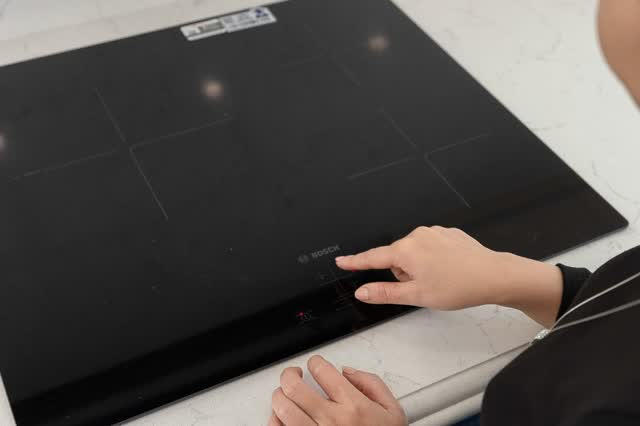
Cooktop drop-in install (electric or induction; gas referred)
Drop-in cooktops depend on the cut-out size, clearances to cabinets above and the correct hardwired connection. Check the new cut-out dimensions before buying: a cut-out that is too big cannot be fixed easily in stone.
 Install · Range / Oven
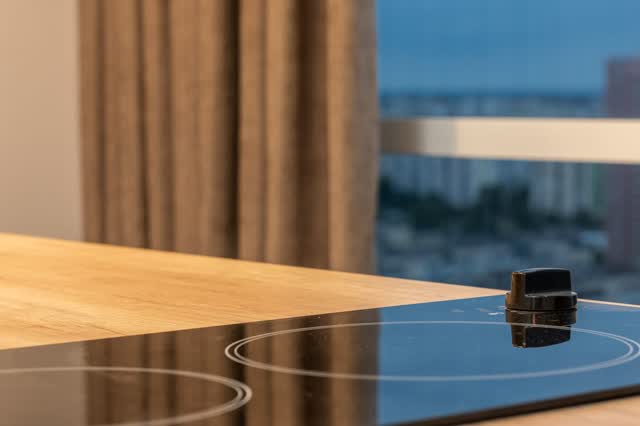
Electric range cord: 3-wire vs 4-wire connection
The cord must match the receptacle: older homes may have a 3-prong 240 V receptacle (neutral and ground shared) while newer installs use 4-prong (separate neutral and ground). The range terminal block has a neutral-to-frame link that stays for 3-wire and is removed (with the green wire to the frame) for 4-wire. Follow the model diagram exactly.
 Install · Range / Oven
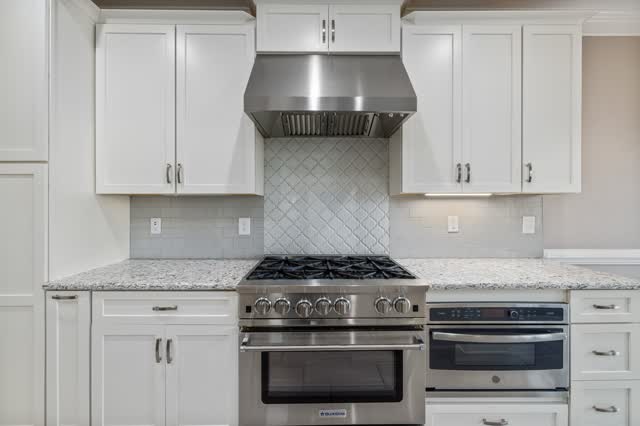
Range install and anti-tip bracket
Every freestanding and slide-in range must be secured with the anti-tip bracket that ships with it, fixed to the wall or floor and engaged by the rear foot. Electric ranges connect with a cord to a 240 V receptacle; gas connections are for a licensed gas installer.
 Install · Range / Oven
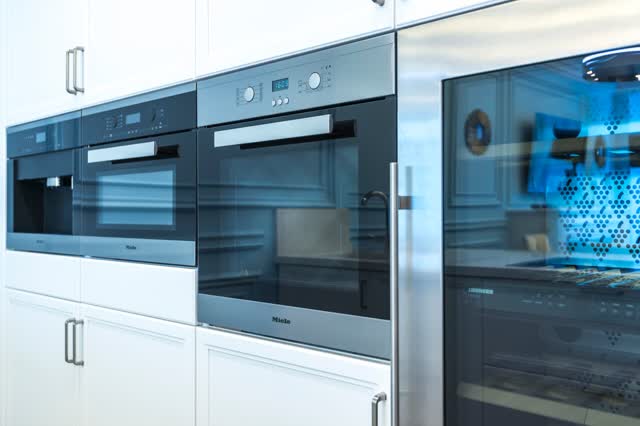
Wall oven install: cut-out, support platform and conduit connection
Wall ovens are heavy and hardwired. The cabinet needs the right cut-out and a support platform rated for the oven weight, and the flexible conduit connects to an approved junction box with a strain relief clamp. Manufacturers do not allow a plug and receptacle on these products.
Microwaves · 1
Air Conditioners · 2
 Install · Air Conditioner
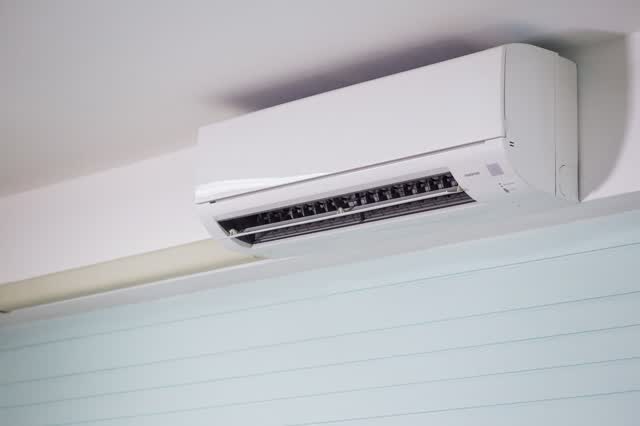
Mini-split install overview: mounting and electrical prep only (line set BLOCKED)
The handyman scope is limited to the indoor wall plate, the wall penetration, the outdoor pad or bracket and coordinating electrical work. Line-set connection, vacuum, refrigerant release or charging are EPA 608 work and BLOCKED; the outdoor disconnect and circuit are for a licensed electrician.
 Install · Air Conditioner
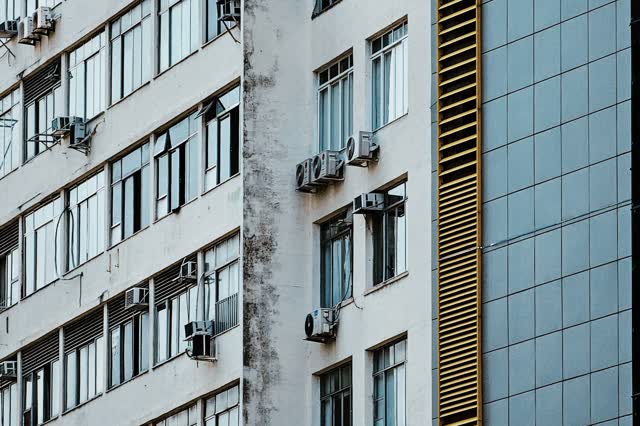
Window air conditioner install and support bracket
Secure the unit so it cannot fall, give it the slight outward tilt the manual specifies (some models have a sloped base pan and need none), seal the side panels, and plug directly into a suitable outlet. Larger or heavier units should have an exterior support bracket.
TVs · 1
Water Heaters · 3
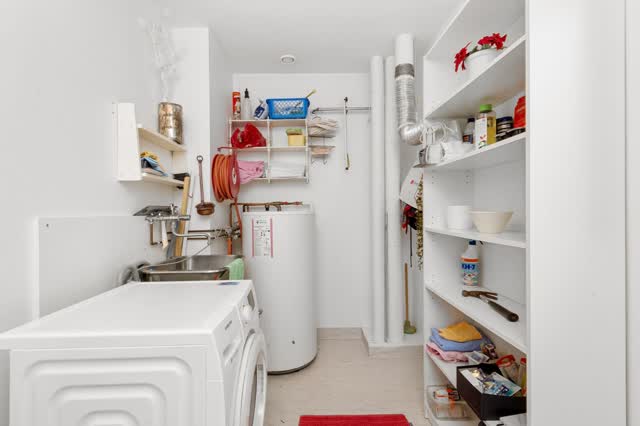 Install · Water Heater
Electric water heater replacement (permit; fill before power)
Many jurisdictions require a permit and inspection for water heater replacement, and some limit who may do it. The critical steps are a new T&P valve and correct discharge pipe, proper water connections, and filling the tank completely before power goes on: powering an empty tank burns out the element almost immediately.
Install · Water HeaterGas water heater replacement (BLOCKED: refer to a licensed plumber / gas installer)
Replacing a gas water heater involves the gas connection, flue venting and combustion air, which are licensed work. The handyman role is to assess, take immediate safety action and refer.
Install · Water HeaterThermal expansion tank install
An expansion tank absorbs the water that expands as the heater warms it. Set the tank air pre-charge to match the home static water pressure (or the PRV setting) before installing, then mount it on the cold supply to the heater and support its weight.
Garbage Disposals · 1
Ice Makers · 1
Range Hoods · 1
Thermostats · 1
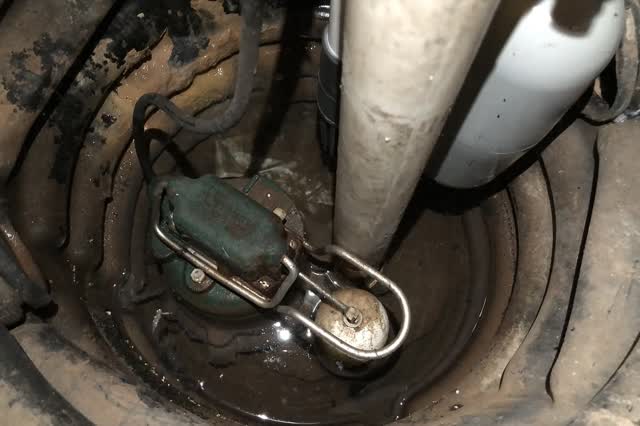
Sump & Well Pumps · 1
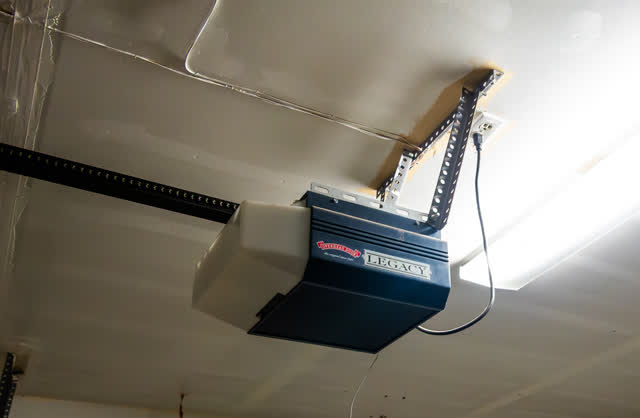
Garage Door Openers · 1
Water Softeners & Filters · 2
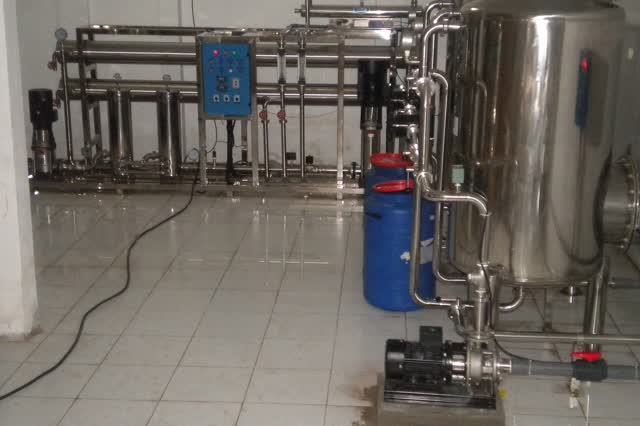 Install · Water Softener
Reverse osmosis (RO) under-sink install
An RO system needs a cold-water feed, a drain saddle on the sink drain above the trap (away from the disposal), a dedicated faucet (often an air-gap faucet where code requires) and the storage tank. Flush the system per the instructions before drinking.
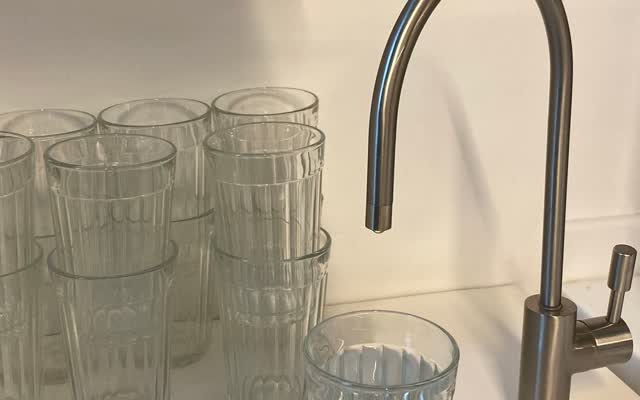 Install · Water Softener
Water softener install with bypass valve
Install the softener after the main shutoff (and usually before the water heater) with a bypass valve so water can run while the unit is serviced. Run the valve drain to an approved drain with an air gap, run the brine-tank overflow separately by gravity, and never join the two.